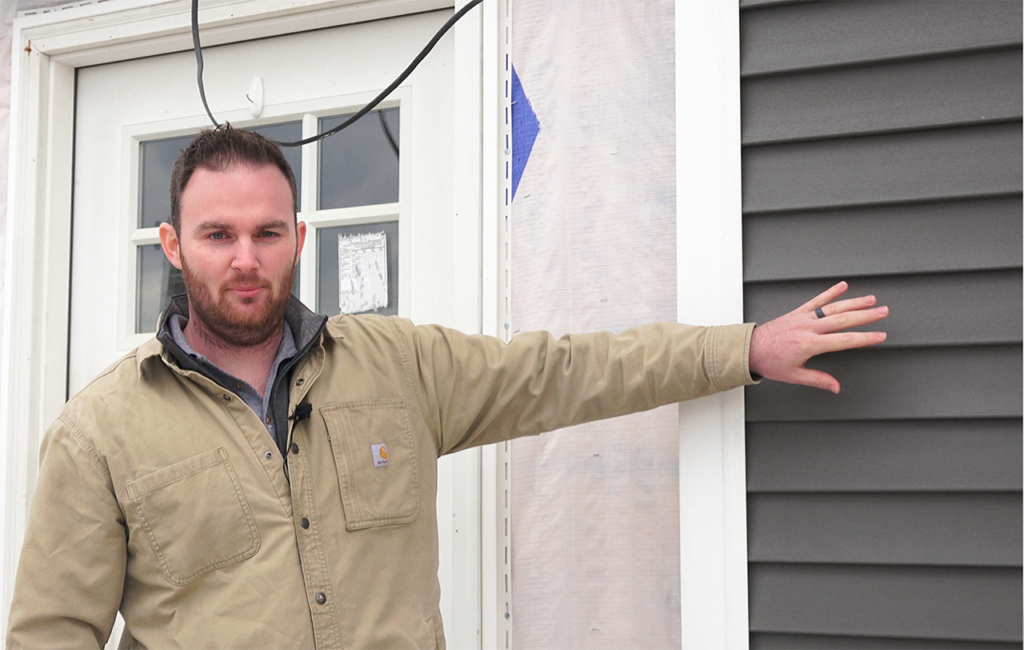
Hi, it’s Curt from Property Revolution where we specialize in roofing, siding, decks, and fences for your home or business. In this article, we’ll help you get an understanding of what’s involved with a home exterior siding project while referencing an actual siding job in the process.
First, we remove the old siding and install what’s called House Wrap. There’s another product that sometimes we use called Fanfold. The purpose of House Wrap and Fanfold is to create a weather barrier behind the siding to improve the efficiency of your home. We wrap it around tight and it’s fastened with staples.

At the bottom of the wall, we use a little piece of flashing that protects the home. If any driving rain were to come and fall on this side of the house, the water would run down and shed rather than intruding on the home which can often cause water damage.

We use a product called J-Channel. One of the details we like to do a little differently than some installers is you can see in the image that guides have mitered the corner, which means it’s been cut at a 45-degree angle. And then inside the J-Channel, there’s a little tab that we’ve made that’s bent down. Water that comes in this top piece would be diverted and flow out rather than causing a water intrusion.

We’re also using an Inside Corner Trim and Outside Corner Trim which helps further protect against water intrusion.


A couple of items that we get asked about often when we’re referencing siding projects is Soffit and Fascia. The board that’s vertical on the overhang of your house is called Fascia. The underside is called Soffit. What we did in this siding job was we installed an aluminum soffit over the soffit board. The fascia board we have covered with a white piece of metal fascia. If you spruce up the soffit and fascia on a home, it can help with your home’s curb appeal.

Other components that you’ll see in your siding project include J Blocks. The J Block is a special trim piece that waterproofs the area around your light fixture and gives us a place to mount that fixture.

This is called a split block. It’s like the J-Block, but it opens up in the middle to be useable around electrical outlets, or maybe a gas line coming out of the house. We’ll just trim out that area and make it look cleaner and neater.

There’s a tool we use that is very important in the siding process called a Siding Break. If you were to look at a window that’s been replaced, you might see that the wood frame has been covered in aluminum. Or you saw the flashing that we installed at the bottom of the wall of the house there. All those pieces of metal are created with the siding break tool. We buy the aluminum in a roll. We call it a trim coil. We cut the pieces to length, and we bend them to make them take the shape of whatever it is that we’re covering and trying to protect.

The item installed at the bottom of the wall is called Starter Strip. It’s a very good place to start :). The first piece of siding is hooked onto this starter strip, and that securely attaches the siding to the wall of the home. Then each interlocking piece is attached from there and fastened as we go up the wall.

Here’s a new piece of siding so you can see how it looks. As we install the siding on the wall, each piece interlocks into the next, and you can see these little holes along the top. This is where the nails go to nail the siding into the side of the home. This interlocking system makes it secure so that it won’t detach in a windstorm.


I hope that was helpful information in understanding what goes into a siding project. If you’re considering new siding for your home, we’d love to help you here at Property Revolution. Or if you just have a question or there’s something you’d like to understand about the exterior of your home, feel free to give us a call or send us an email at info@mypropertyrevolution.com, and we’d be happy to answer those questions for you.
Watch the VIDEO: SIDING 101 | Your Questions About Siding Answered